Advanced Inverse Kinematics
Anyone can use Inverse Kinematics to animate as it is very easy to begin with. This tutorial covers the more advanced features of Inverse Kinemetatics. For an introduction on how to use Inverse Kinematics, see: Introduction to Inverse Kinematics.
Forward Kinematics (FK) Blend
When developing IK and experimenting with it by creating a walk cycle for Lucy, I realised that I wanted the knees straight much of the time in the cycle but found IK hard to control when the knee joints are close to being straight (no bend). This lead to developing the FK blend feature. The 2 fields (which belong to the part node) used for blending are fka (FK angle) and fkb (FK blend). The fka field is used for specifying the FK angle of the joint while fkb specifies how much to blend the FK with the IK. The blend value (fkb) can range anything from 0 to 1fkb set to 0 will cause no FK blend.
fkb set to 1 will cause the FK angle to completely override the IK.
fka can be left to 0 most of the time since 0 will typically specify a straight joint (no bend in the joint).
To utilise FK blend, write values into the fkb field while in Anim mode. This will cause the values to be captured on the time line where ever the slider is at. See the file fk-blend.smls as an example of the FK blend feature being used and compare this to fk-no-blend.smls which is the same animation without any FK blending.
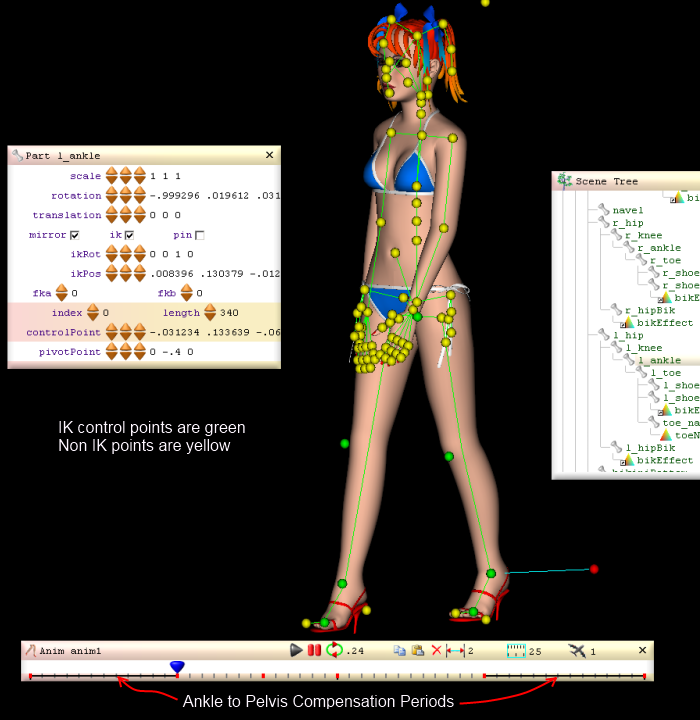
Position Compensation
The FK blend helped keep the knees steady at specific points in the walk cycle but then I noticed there was a problem with the ankles sinking into the ground and rising above it at times. I found I had to add a number of key frames to adjust the pelvis to compensate. This lead to the development of the PosCompensator node which fixed the problem without the need to add extra key frames. The PosCompensator simply compares the ankle position at the beginning of a compensation period with the position of the ankle there after in that period and adjusts the pelvis with the difference.To set up a PosCompensator for the purpose of adjusting the pelvis in relation to an ankle part (this has been developed for a leg that has knee, ankle and toe parts):
Move the anim bar’s slider to where you want the compensation period to begin and then right click on the ankle node in the scene tree window
and select: set compensationn.
This will cause a PosCompensator to be added to the Anim bar with the recorded position of the ankle which will be used for comparing the position of the ankle. In the anim bar you will see a line that represents the compensation period. The period can be adjusted by dragging either end of the line.
To reset the recorded position of the ankle for the compensation period, move the slider to the beginning of the period and right click on the ankle in the scene tree and select: set compensation.
To remove the compensation period, move the slider to anywhere within the period and right click on the ankle in the scene tree and select: remove compensation.
[3d Modelling Software] [Tutorials] [Forum] [Features] [Download] [Gallery] [FAQ] [Chat] [Avatars] [Links] [Thyme]