Smoothing a Surface with a Smoothing Patch
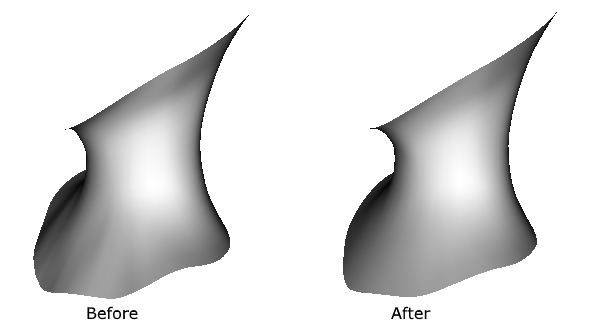
As a result of inserting control lines where we want more detail like in the nose for example, we may end up with more control lines than we want in other areas such as the chin or neck, making it more difficult to keep these areas smooth. A smoothing patch of a simular shape but with fewer control points can be used to smooth the denser patches by placing the points of our denser patches onto the surface of the smoothing patch.
A smoothing patch is just a normal nurbs patch designated to the role of a smoothing patch.
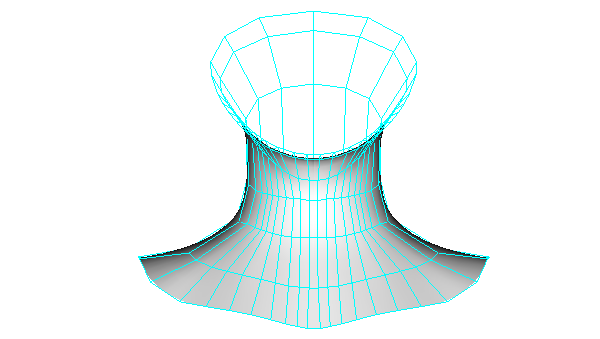
In the following example we will smooth this neck made from a single patch:
First duplicate our neck by selecting save as from the file menu and save it with the name smoothing-patch. Duplicate another saving it with the name guiding-shape so that we will end up with 3 files.
One will contain the patch we will operate on to smooth it which will be refered to from here on as the patient patch.
One will contain the patch designated to the role of the smoothing patch.
One will contain the guiding shape.
Open the guiding shape and colour it red or any colour that will stand out from the original colour.
Save the file.
Open the smoothing patch file and delete control lines from the smoothing patch until we have the ideal amount for modelling a smooth neck.
Delete all of the smoothing patch's geometry by clicking one of the patch's points to select the patch and then selecting delete pollies for selected patches from the lower toolbar menu.
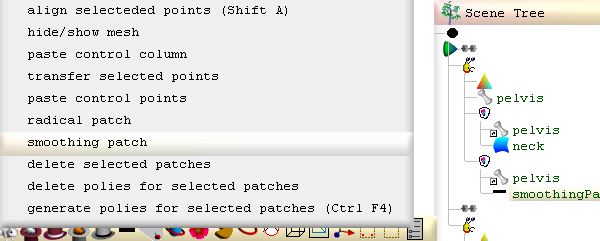
To help avoid confusion, in the scene tree window name the patch smoothingPatch: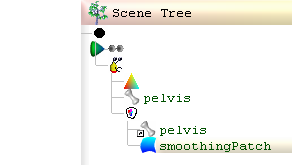
Save the file.
Open the file that contains the patient patch (the original file).
Click on a point belonging to the patient patch and then click  to hide it.
Select import->all nodes from file from the file menu to import the guide file so that the guide's patch will be kept isolated from our patient patch. (contained in a seperate Seamless node)
Select import->build nodes from the file menu to import the smoothing file so that the smoothing patch will be contained in the same seamless node as the patient patch.
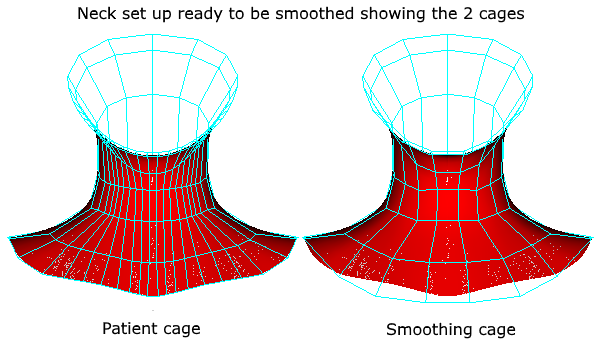
Before we activate our smoothing patch we can even out some of the smoothing patch's points. Though idealy we want our smoothing patch's surface to touch the points of the original neck so that the points will be optimally mapped onto the surface, dont waste a lot of time on this as we can only guess roughly at this stage in the operation and we have the option of repeating the smoothing operation using the smoothing patch from the last operation which will be closer to the ideal shape after having been worked with and verified by our guiding shape.
Once we have the smoothing patch set up and ready, activating it is simple:
1/ Click  to show all cages in the model.
2/ In the scene tree window double click on the smoothing patch to hide it.
3/ Using the rectangle selection tool, select the patient's points.
4/ With the smoothing patch selected in the scene tree window, from the lower toolbar menu, select smoothing patch to activate the selected patch in the scene tree window:
Activating the smoothing patch will cause the smoothing patch's cage to show and all other cages to hide. With the smoothing patch now active (all selected points mapped to the smoothing patch), now when we drag the smoothing patch's points, we modify the patient patch.
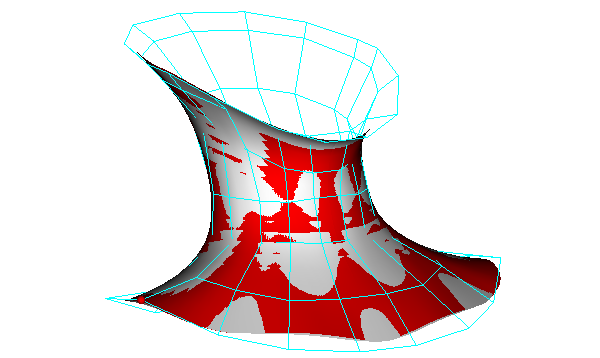
Drag the smoothing patch’s points so that our smoothed patient's shape is kept approximately the same shape, size and location as the red coloured guide:
When finished, save the file, close seamless and then reopen it before doing anything else to unactivate the smoothing patch and ensure all global variables are reset. The used smoothing patch can then be deleted or saved to another file so that it can be reused for another smoothing operation.
[3d Modelling Software] [Tutorials] [Forum] [Features] [Download] [Gallery] [FAQ] [Worlds] [Avatars] [Links] [Thyme]